

-
Welcome to Tacoma World!
You are currently viewing as a guest! To get full-access, you need to register for a FREE account.
As a registered member, you’ll be able to:- Participate in all Tacoma discussion topics
- Communicate privately with other Tacoma owners from around the world
- Post your own photos in our Members Gallery
- Access all special features of the site
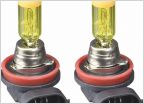 LED Fog Lights
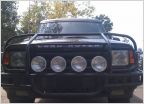 Good placement for PIAA's
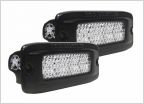 A different approach to ditch lights
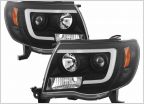 Help -- Extremely Confusing Headlight Problem
 ARB Bumper bought used. Wired Fogs and LED blinkers. This is how I did it.
How To: Black Head Light mod
Discussion in 'Lighting' started by Viet2100, Dec 14, 2009.
Page 1 of 39
Page 1 of 39

