

-
Welcome to Tacoma World!
You are currently viewing as a guest! To get full-access, you need to register for a FREE account.
As a registered member, you’ll be able to:- Participate in all Tacoma discussion topics
- Communicate privately with other Tacoma owners from around the world
- Post your own photos in our Members Gallery
- Access all special features of the site
 Mountable Compressor Suggestions
 Tablet strictly for GPS use
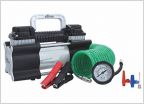 Mods for 'light' offroading
 Looking for trails in the Seattle area
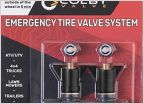 Off-road valve stem replacement
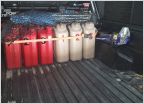 Water Filtration?
04 Tacoma Breather Mod - Rerouting everything
Discussion in 'Off-Roading & Trails' started by SkydivingNerd, Jul 2, 2010.
