

-
Welcome to Tacoma World!
You are currently viewing as a guest! To get full-access, you need to register for a FREE account.
As a registered member, you’ll be able to:- Participate in all Tacoma discussion topics
- Communicate privately with other Tacoma owners from around the world
- Post your own photos in our Members Gallery
- Access all special features of the site
 Help with CAI order....
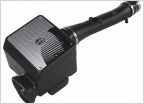
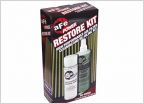 TRD CAI Filter Replacement vs Cleaning
 ELM327 Wifi Connectivity issues with DashCommander
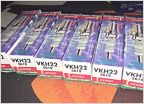 Magnuson TRD supercharger spark plugs
 Spark plugs
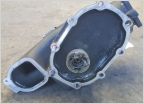 TRD/ Magnuson 4.0 Supercharger Tips, Tricks, and Mods
New Cheap/free Mod- Throttle Body Mod
Discussion in 'Performance and Tuning' started by 6whiteboy9, Mar 8, 2008.


