

-
Welcome to Tacoma World!
You are currently viewing as a guest! To get full-access, you need to register for a FREE account.
As a registered member, you’ll be able to:- Participate in all Tacoma discussion topics
- Communicate privately with other Tacoma owners from around the world
- Post your own photos in our Members Gallery
- Access all special features of the site
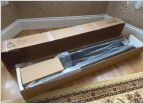 APS Off-Road Aluminum Running Boards for Access-Cabs
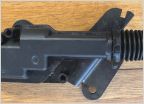 Does OEM tailgate lock fit 2023 TRD OR
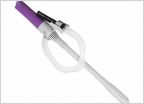 Wavian NATO jerry can vs Scepter EPA plastic
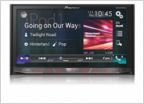 Pioneer AVH-4200NEX
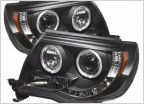 Best aftermarket headlights
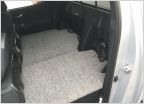 Rear seat covers for dogs?
100W Off-Road Lamp kit from automatcentral
Discussion in 'Product Reviews' started by HerNameIsLucy, Nov 23, 2008.


