-
Welcome to Tacoma World!
You are currently viewing as a guest! To get full-access, you need to register for a FREE account.
As a registered member, you’ll be able to:- Participate in all Tacoma discussion topics
- Communicate privately with other Tacoma owners from around the world
- Post your own photos in our Members Gallery
- Access all special features of the site
 Question on D29XL
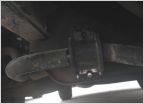 Broken sway bar bushing mount
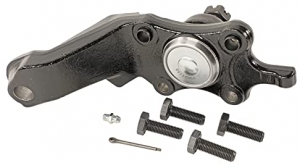
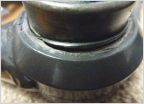 Camburg ball joint UCA's WTF?
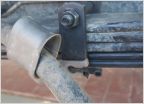 Revtek 3" / 1.5" AAL Lift Kit
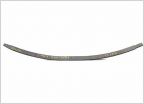
 Hellwig helper springs to maintain rear height, or even add slight lift?
 Fox 2.5 Remote Resi Rusting
SAWs vs. Camburg
Discussion in 'Suspension' started by jr114, Oct 2, 2010.
Page 2 of 2
Page 2 of 2