

-
Welcome to Tacoma World!
You are currently viewing as a guest! To get full-access, you need to register for a FREE account.
As a registered member, you’ll be able to:- Participate in all Tacoma discussion topics
- Communicate privately with other Tacoma owners from around the world
- Post your own photos in our Members Gallery
- Access all special features of the site
 First time lifter
 Dealer lift kit installed?
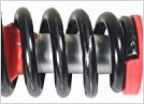 Strut removal
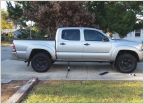 ADVISE: suspension, wheels & tires
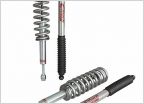
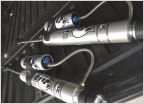 The Install and Technical information on Fox 985-26-117
 Question about the Bilstein 5100
Vibration after AAL (tried carrier bearing drop and 3 degree axle shims)
Discussion in 'Suspension' started by nammer, Feb 7, 2013.
Page 2 of 3
Page 2 of 3


