-
Welcome to Tacoma World!
You are currently viewing as a guest! To get full-access, you need to register for a FREE account.
As a registered member, you’ll be able to:- Participate in all Tacoma discussion topics
- Communicate privately with other Tacoma owners from around the world
- Post your own photos in our Members Gallery
- Access all special features of the site
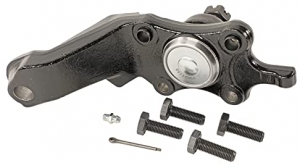
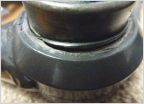 Camburg ball joint UCA's WTF?
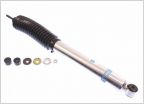 Bilstein 5100 blown rear shock replacement
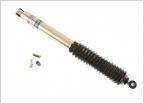 1st Gen Shock Problem
 LCA Replacement Options
 What is this? and how do I return it back to stock?
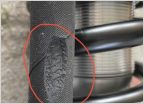 Icon reservoir hose damage
OFFICIAL..SPINDLE INSTALL INSTRUCTIONS no pics
Discussion in 'Suspension' started by 08pretaco, Apr 8, 2010.
Page 1 of 4
Page 1 of 4