

-
Welcome to Tacoma World!
You are currently viewing as a guest! To get full-access, you need to register for a FREE account.
As a registered member, you’ll be able to:- Participate in all Tacoma discussion topics
- Communicate privately with other Tacoma owners from around the world
- Post your own photos in our Members Gallery
- Access all special features of the site
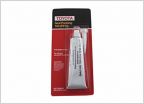 FIPG get the real stuff or is there better cheaper?
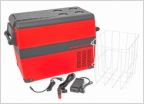 Which portable power station for my new fridge?
 Problem doing the diff breather mod
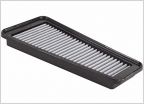 Dry Air Filter AME or aFe
 Need Help with Rock light wiring...
Icon Resi Rear shock install
Discussion in 'Technical Chat' started by chris4x4, Mar 26, 2011.
Page 1 of 4
Page 1 of 4


