

-
Welcome to Tacoma World!
You are currently viewing as a guest! To get full-access, you need to register for a FREE account.
As a registered member, you’ll be able to:- Participate in all Tacoma discussion topics
- Communicate privately with other Tacoma owners from around the world
- Post your own photos in our Members Gallery
- Access all special features of the site
 Oil Filters Interchangeable?
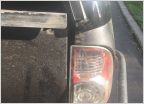 Flatbed Information Thread
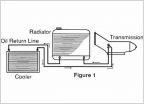 TRANSMISSION . Transmission coolers for all Toyotas ... Write up with many pictures
 Wiring issue...I think
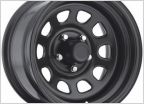 15" rims 33 tires?
Cheap/Free Mods
Discussion in 'Technical Chat' started by piercedtiger, Dec 28, 2007.
Page 2 of 123
Page 2 of 123
Products Discussed in


