

-
Welcome to Tacoma World!
You are currently viewing as a guest! To get full-access, you need to register for a FREE account.
As a registered member, you’ll be able to:- Participate in all Tacoma discussion topics
- Communicate privately with other Tacoma owners from around the world
- Post your own photos in our Members Gallery
- Access all special features of the site
 Upgrading TRD Trans cooler
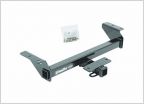 Draw-Tite 75238 Hitch for 3rd Gens - $41 on Amazon
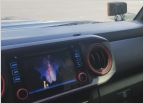 Reviews with different backup camera systems for travel trailer
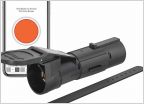 Brake Controller - Need Help - 3rd Gen
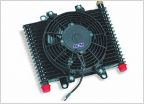 Might pull the trigger tomorrow: Tow feedback please.
 M101a2 Overland Trailer Build
Any idea about these trailer brakes?
Discussion in 'Towing' started by TDubber, Mar 20, 2013.


