

-
Welcome to Tacoma World!
You are currently viewing as a guest! To get full-access, you need to register for a FREE account.
As a registered member, you’ll be able to:- Participate in all Tacoma discussion topics
- Communicate privately with other Tacoma owners from around the world
- Post your own photos in our Members Gallery
- Access all special features of the site
 Canadian imported 2007 Tacoma - local dealers won't help
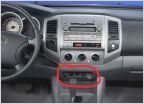 2nd Gen Dash USB Insert??
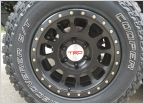 Easy DIY: TRD Center Caps in Method Wheels
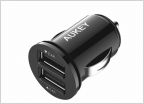 USB charging ports
 Larger fuel tank
 Winterizing my '12
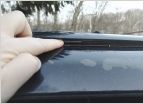
Detailed LED bed light install GUIDE. No Holes No wire cutting
Discussion in '2nd Gen. Tacomas (2005-2015)' started by packrobottom, Aug 25, 2014.
Page 1 of 2
Page 1 of 2


