

-
Welcome to Tacoma World!
You are currently viewing as a guest! To get full-access, you need to register for a FREE account.
As a registered member, you’ll be able to:- Participate in all Tacoma discussion topics
- Communicate privately with other Tacoma owners from around the world
- Post your own photos in our Members Gallery
- Access all special features of the site
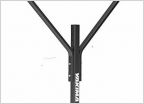 14' paddleboard on OEM roof rack?
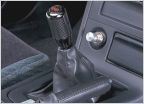 Do I want the heavier or lighter shift knob for my 6 sp?
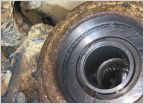 Tips on cleaning CV Axle seal mating surface
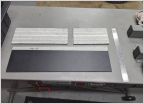 Low budget 2nd Gen Lockable Bed pocket cover
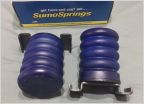 Sumo Springs for lifted applications
 After Market Bumper Suggestions?
KBVoodoo Long Bed Side Rail Caps with Softopper Hard Mount
Discussion in '2nd Gen. Tacomas (2005-2015)' started by lapoltba, Mar 22, 2015.


