

-
Welcome to Tacoma World!
You are currently viewing as a guest! To get full-access, you need to register for a FREE account.
As a registered member, you’ll be able to:- Participate in all Tacoma discussion topics
- Communicate privately with other Tacoma owners from around the world
- Post your own photos in our Members Gallery
- Access all special features of the site
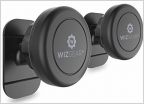 Phone mount for center vents in 08 Tacoma
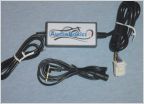 What kind of Radio (stock or aftermarket) does my 08 support?
 How do all 5 tpms go out?
 Removing fender flares.
 12v Bed Outlet Install Write-Up
 Car stereo for Tacoma
Pop & Lock - PL8521 install
Discussion in '2nd Gen. Tacomas (2005-2015)' started by 916carl, Aug 7, 2015.
Products Discussed in


