

-
Welcome to Tacoma World!
You are currently viewing as a guest! To get full-access, you need to register for a FREE account.
As a registered member, you’ll be able to:- Participate in all Tacoma discussion topics
- Communicate privately with other Tacoma owners from around the world
- Post your own photos in our Members Gallery
- Access all special features of the site
 OME Dakar leaf springs
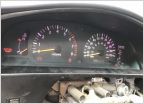 Dash cluster lights
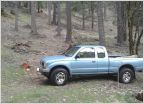 Long time reader, first time posting. Doing a little work on my 1st gen. (drive shaft)
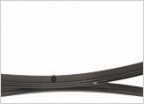 New Leaf springs
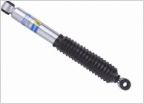
 Very quick question re rear shocks
 Snorkel install, turn ducting watertight
What have you done to your Tacoma today? 1st Gen Edition
Discussion in '1st Gen. Tacomas (1995-2004)' started by SlimDigg, Feb 7, 2011.
Page 4058 of 11225
Page 4058 of 11225
Products Discussed in


