

-
Welcome to Tacoma World!
You are currently viewing as a guest! To get full-access, you need to register for a FREE account.
As a registered member, you’ll be able to:- Participate in all Tacoma discussion topics
- Communicate privately with other Tacoma owners from around the world
- Post your own photos in our Members Gallery
- Access all special features of the site
 Where to spray rear bed bolts from underneath
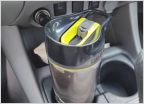 Best Mug that will fit in my cup holder
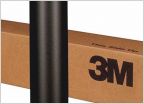 Hood wrap or dip
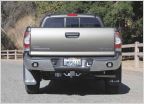 How to wire aux lights?
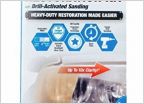 Headlight Lens
 Need Mat for folded down seat in DC
Help wiring Gauge(power supply)
Discussion in '2nd Gen. Tacomas (2005-2015)' started by wedgemoose, Oct 24, 2015.
Page 2 of 3
Page 2 of 3

