

-
Welcome to Tacoma World!
You are currently viewing as a guest! To get full-access, you need to register for a FREE account.
As a registered member, you’ll be able to:- Participate in all Tacoma discussion topics
- Communicate privately with other Tacoma owners from around the world
- Post your own photos in our Members Gallery
- Access all special features of the site
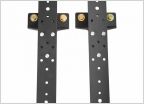 Wanting to mount a shovel and axe off my bed rails but...
 2016 Tacoma Tailgate Replacment Bushing #66143-04020
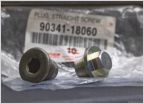 75w-140 accidental fill
 Bilstein 5100/ Recommended coils for lift
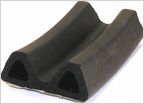 Sealing Bed For Camper Shell
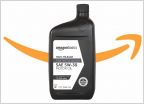 Amazon Basics Motor Oil is a thing now.....
2016-2019 Toyota Tacoma Fog Light Mod! (Step by Step Picture Heavy)
Discussion in '3rd Gen. Tacomas (2016-2023)' started by moe2o4, Dec 2, 2015.
Page 1 of 13
Page 1 of 13


