

-
Welcome to Tacoma World!
You are currently viewing as a guest! To get full-access, you need to register for a FREE account.
As a registered member, you’ll be able to:- Participate in all Tacoma discussion topics
- Communicate privately with other Tacoma owners from around the world
- Post your own photos in our Members Gallery
- Access all special features of the site
 Rubber key cover for SR?
 Small tint job, seeking advice
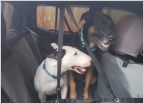 Dog seat cover Duluth
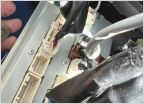 Tacoma 2017 Subwoofer?
 Amazon sequential mirror turn signal install
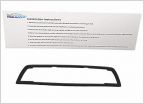 Toyota Recall on 3rd light gasket issue
Pop & Lock install directions
Discussion in '3rd Gen. Tacomas (2016-2023)' started by Bob259, Jan 27, 2016.
Page 1 of 2
Page 1 of 2

