-
Welcome to Tacoma World!
You are currently viewing as a guest! To get full-access, you need to register for a FREE account.
As a registered member, you’ll be able to:- Participate in all Tacoma discussion topics
- Communicate privately with other Tacoma owners from around the world
- Post your own photos in our Members Gallery
- Access all special features of the site
 Oil plug leak after I changed oil
 Thinking about this sport hood only $140
 Need dimensions for TRD Pro Badges
 Previous owner jacked up oil pan
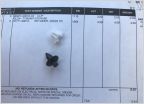 Avoid getting plastic fastener replacements @ stealership
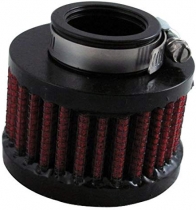
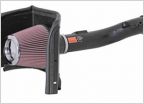 Aftermarket airfilter for a 2011 fit a 2012 w/o problems?
How to Toytec lift install by "SMTRDSPORT"
Discussion in '2nd Gen. Tacomas (2005-2015)' started by toku58, Jun 9, 2009.
Page 1 of 5
Page 1 of 5