

-
Welcome to Tacoma World!
You are currently viewing as a guest! To get full-access, you need to register for a FREE account.
As a registered member, you’ll be able to:- Participate in all Tacoma discussion topics
- Communicate privately with other Tacoma owners from around the world
- Post your own photos in our Members Gallery
- Access all special features of the site
 Midland MXT575 Glovebox Install?
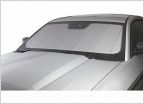 Sun Shades
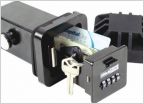 Locking key fob in truck
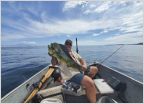 Heading to Baja… looking for some temporary seat covers
 Dealer replaced spark plugs and now check engine light is on
 Bed Lights Installed
HOW TO: 400W Anytime Mod 3rd Gen
Discussion in '3rd Gen. Tacomas (2016-2023)' started by kashtyaatsi, Jun 13, 2016.
Page 1 of 10
Page 1 of 10
Products Discussed in


