-
Welcome to Tacoma World!
You are currently viewing as a guest! To get full-access, you need to register for a FREE account.
As a registered member, you’ll be able to:- Participate in all Tacoma discussion topics
- Communicate privately with other Tacoma owners from around the world
- Post your own photos in our Members Gallery
- Access all special features of the site
 Cell phone mount for 1st gen. taco
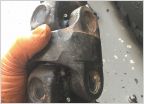 Driveline Clunk Possibilitys?
 Rear differential Fluid at 117,000
 Torn CV boot. Is it age, lift, or both?
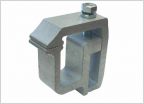 Camper Shell Clamps
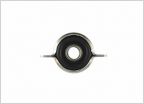 Driveshaft Center Support Bearing lifespan???
Installing Better Bed Lights on the 1st gen
Discussion in '1st Gen. Tacomas (1995-2004)' started by TacoStandCT, Jul 6, 2016.