

-
Welcome to Tacoma World!
You are currently viewing as a guest! To get full-access, you need to register for a FREE account.
As a registered member, you’ll be able to:- Participate in all Tacoma discussion topics
- Communicate privately with other Tacoma owners from around the world
- Post your own photos in our Members Gallery
- Access all special features of the site
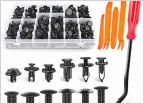 Anybody know p/n of the door retainer clips that belong near the tweeters?
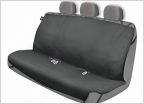 Backseat covers (Dog owners reply)
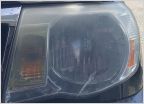 Yellow headlight
 Noisy 4L. engine
 Wait on Dakars, or get something else?
What Have You Done To Your 2nd Gen Tacoma Today?
Discussion in '2nd Gen. Tacomas (2005-2015)' started by kwalton, Feb 2, 2008.
Page 4702 of 12563
Page 4702 of 12563
Products Discussed in


