

-
Welcome to Tacoma World!
You are currently viewing as a guest! To get full-access, you need to register for a FREE account.
As a registered member, you’ll be able to:- Participate in all Tacoma discussion topics
- Communicate privately with other Tacoma owners from around the world
- Post your own photos in our Members Gallery
- Access all special features of the site
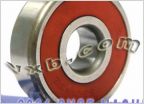 AC idler bearing 5vz P/N
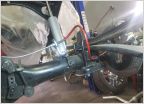 Tundra front brake upgrade
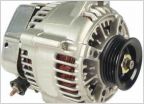 High Output Alternator 2.4L 1st gen Tacoma
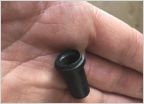 ** URGENT ** Question for all of those who have replaced their starter/contacts
 Emissions "Cat Not Ready"
CBI Bolt on install instructions?
Discussion in '1st Gen. Tacomas (1995-2004)' started by JJ04TACO, Aug 4, 2016.


