

-
Welcome to Tacoma World!
You are currently viewing as a guest! To get full-access, you need to register for a FREE account.
As a registered member, you’ll be able to:- Participate in all Tacoma discussion topics
- Communicate privately with other Tacoma owners from around the world
- Post your own photos in our Members Gallery
- Access all special features of the site
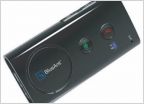 OEM bluetoth? BLU Logic?
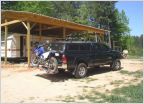 Transporting Dirt Bikes w/Rear Tire Carrier
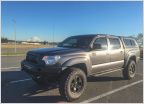 Avs or egr window visors?
 Need Mat for folded down seat in DC
 Purchasing Rims and Tires, Offset Question
teaser: HID retro part deux...
Discussion in '2nd Gen. Tacomas (2005-2015)' started by yosh2000, Jan 3, 2010.
Page 4 of 8
Page 4 of 8


