

-
Welcome to Tacoma World!
You are currently viewing as a guest! To get full-access, you need to register for a FREE account.
As a registered member, you’ll be able to:- Participate in all Tacoma discussion topics
- Communicate privately with other Tacoma owners from around the world
- Post your own photos in our Members Gallery
- Access all special features of the site
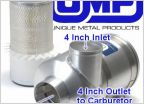 R2C/UMP offroad filters/canisters. Anyone running one? Thoughts?
 Needing help identifying rear differential
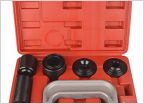 Suspension refresh - what to replace at 200k?
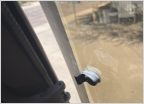 Where find this quarter window piece?
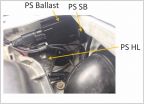 1st Gens w/Retro Fit HIDs
 Suspension set up - Towing
Replacing ADD actuator
Discussion in '1st Gen. Tacomas (1995-2004)' started by sente3, Sep 5, 2016.
Page 1 of 2
Page 1 of 2


