

-
Welcome to Tacoma World!
You are currently viewing as a guest! To get full-access, you need to register for a FREE account.
As a registered member, you’ll be able to:- Participate in all Tacoma discussion topics
- Communicate privately with other Tacoma owners from around the world
- Post your own photos in our Members Gallery
- Access all special features of the site
 Rear end noise???
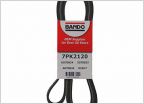 I've about had it with these d*** pullies
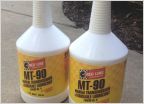 How-To: 6-Speed Manual Transmission Oil Change
 Help! How to get Daytime running lights working?
 Help! Gates idler pulleys
 Toyota brand nerf bars
OFFICIAL 2nd gen 4x4 front differential bearing vibration thread
Discussion in '2nd Gen. Tacomas (2005-2015)' started by BenWA, Apr 17, 2011.
Page 189 of 226
Page 189 of 226
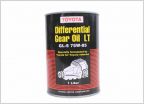
Products Discussed in


