

-
Welcome to Tacoma World!
You are currently viewing as a guest! To get full-access, you need to register for a FREE account.
As a registered member, you’ll be able to:- Participate in all Tacoma discussion topics
- Communicate privately with other Tacoma owners from around the world
- Post your own photos in our Members Gallery
- Access all special features of the site
Quick Links: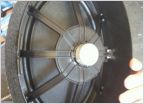 Speaker Only Upgrade with 2012+ Stock Non Nav HU
 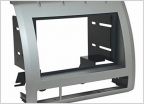 2nd gen (2010) Double-Din Kit Questions
  IT'S DYING !! I NEED HELP SELECTING A REPLACEMENT QUICK !!
 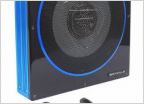 Anyone ever install Bass under passenger seat?
 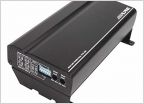 2005 Tacoma New Head Unit Wires Install Question
  Finished my install, JL Stealthbox + AppRadio in 2013 Taco
2nd Gen Kick Pods - Lots of Pics
Discussion in 'Audio & Video' started by azTRD, Feb 8, 2010.
Page 1 of 3
Page 1 of 3


