

-
Welcome to Tacoma World!
You are currently viewing as a guest! To get full-access, you need to register for a FREE account.
As a registered member, you’ll be able to:- Participate in all Tacoma discussion topics
- Communicate privately with other Tacoma owners from around the world
- Post your own photos in our Members Gallery
- Access all special features of the site
 LFaub's 4x4 conversion/camper build
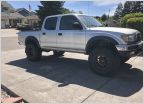 RDT415's 04 DCSB SR5 4x4 Build
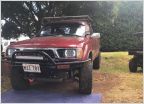 MAUIAUSTIN's High School Tacoma Build "Ava"
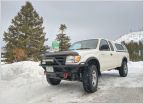 "Ole' MG"- Adam's 2000 Tacoma Build + Adventures
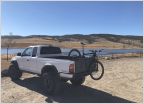 Run to the Hills! - Jason's Completely Stalled Colorado GTFO Build
 W00dy's 2003 DoubleCab aka The driveway queen
Finally Getting Around To It Build
Discussion in '1st Gen. Builds (1995-2004)' started by Ford2YotaGuy, Nov 25, 2016.
Page 4 of 16
Page 4 of 16

