

-
Welcome to Tacoma World!
You are currently viewing as a guest! To get full-access, you need to register for a FREE account.
As a registered member, you’ll be able to:- Participate in all Tacoma discussion topics
- Communicate privately with other Tacoma owners from around the world
- Post your own photos in our Members Gallery
- Access all special features of the site
 Air filter upgrade
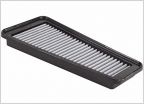 Afe pro dry s
 Magnaflow 18" on 2.7L? Help Me
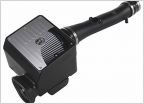 Beware.... of afeintakestore.com
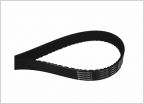 Gates Racing OEM Serpentine belt replacement for 1GR
Built valvebody for supercharger
Discussion in 'Performance and Tuning' started by 98_Mud_bug, Aug 9, 2008.


