

-
Welcome to Tacoma World!
You are currently viewing as a guest! To get full-access, you need to register for a FREE account.
As a registered member, you’ll be able to:- Participate in all Tacoma discussion topics
- Communicate privately with other Tacoma owners from around the world
- Post your own photos in our Members Gallery
- Access all special features of the site
Quick Links: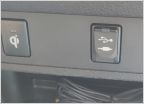 Is there a simple more powerful replacement for stock USB on dash?
  What makes the 2021 Tacoma's "dynamic navigation" different from my 2016 Sport's navigation?
 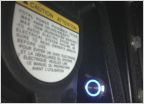 Bed lights?
 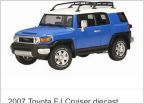 Need a 3rd gen die cast / hotwheels / small car model
 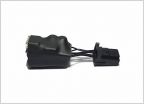 Anyone have a SimpleUSB Mirror adapter connected?
  Spark Plugs
Mobtown skid plate set install
Discussion in '3rd Gen. Tacomas (2016-2023)' started by fcasos, Jul 28, 2016.
Page 6 of 14
Page 6 of 14


