

-
Welcome to Tacoma World!
You are currently viewing as a guest! To get full-access, you need to register for a FREE account.
As a registered member, you’ll be able to:- Participate in all Tacoma discussion topics
- Communicate privately with other Tacoma owners from around the world
- Post your own photos in our Members Gallery
- Access all special features of the site
 Can the TRD bed stickers be removed?
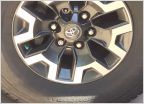 Lug nuts
 Gifts for Tacoma Obsessed BF
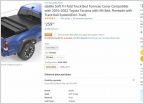 What soft cover is best !!!
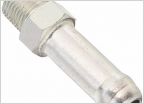 Mixed rear diff breather mod parts question...
Clean CB Install on my TRD Pro - not janky at all
Discussion in '3rd Gen. Tacomas (2016-2023)' started by jake slatnick, May 12, 2017.
Page 1 of 5
Page 1 of 5


