

-
Welcome to Tacoma World!
You are currently viewing as a guest! To get full-access, you need to register for a FREE account.
As a registered member, you’ll be able to:- Participate in all Tacoma discussion topics
- Communicate privately with other Tacoma owners from around the world
- Post your own photos in our Members Gallery
- Access all special features of the site
 Noco or Micro Start?
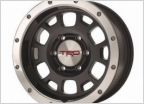 TRD Beadlock wheel help
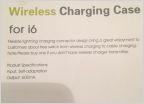 Qi Charging for iPhone
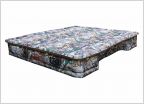 AIR MATTRESS WITH WHEEL WELL INSERTS
 PSA: replace your cabin filter
 Creaking clutch pedal
Removal of Dash Trim around "Cubby"....??
Discussion in '3rd Gen. Tacomas (2016-2023)' started by over60, Jun 11, 2017.
Page 1 of 2
Page 1 of 2


