

-
Welcome to Tacoma World!
You are currently viewing as a guest! To get full-access, you need to register for a FREE account.
As a registered member, you’ll be able to:- Participate in all Tacoma discussion topics
- Communicate privately with other Tacoma owners from around the world
- Post your own photos in our Members Gallery
- Access all special features of the site
 Oil recommendations? Personal preferences.
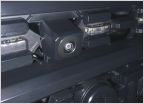 How to replace a dummy camera with an actual one on TRD Lift Kit Grille?
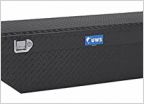 Black Aluminum low mount, cross mount tool boxes
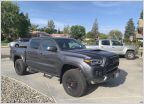 How much are used predator steps worth?
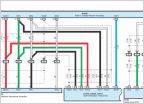 Wiring diagram for backup camera
Fender flare installation on non-flared Tacomas: tutorial
Discussion in '3rd Gen. Tacomas (2016-2023)' started by Nitori, May 31, 2017.
Page 1 of 10
Page 1 of 10
Products Discussed in


