

-
Welcome to Tacoma World!
You are currently viewing as a guest! To get full-access, you need to register for a FREE account.
As a registered member, you’ll be able to:- Participate in all Tacoma discussion topics
- Communicate privately with other Tacoma owners from around the world
- Post your own photos in our Members Gallery
- Access all special features of the site
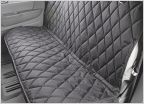 Back of Seat Covers
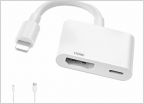 OnX hunt maps...is there a way to connect my phone to see them on the truck screen??
 Rated front recovery point with skid plate
 Third gen tailgate strength
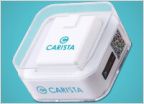 Best bang for your buck OBD scanner and etc. to have
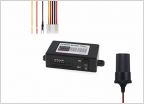 Dash cam working properly in the cold?
Project DIY: Truck-bed Pullout Kitchen (and BS)
Discussion in '3rd Gen. Tacomas (2016-2023)' started by Arlaghan, Aug 22, 2017.
Page 8 of 10
Page 8 of 10


