

-
Welcome to Tacoma World!
You are currently viewing as a guest! To get full-access, you need to register for a FREE account.
As a registered member, you’ll be able to:- Participate in all Tacoma discussion topics
- Communicate privately with other Tacoma owners from around the world
- Post your own photos in our Members Gallery
- Access all special features of the site
 2017 tacoma jbl system upgrade.
 OEM bed mat alternative
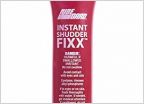 2017 TRD Torque Converter shudder
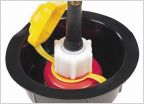 Whats a good/cheap air compressor/pump that could pressurzie CostCo Waterport?
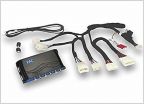
 Dongar Dashcam Power Adapter
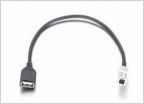 Phone Direct to back of HeadUnit
PTR13-35150 - Bilstein TRD PRO kit - Upgrade??
Discussion in '3rd Gen. Tacomas (2016-2023)' started by commbubba19, Jan 22, 2018.
Page 70 of 162
Page 70 of 162


