

-
Welcome to Tacoma World!
You are currently viewing as a guest! To get full-access, you need to register for a FREE account.
As a registered member, you’ll be able to:- Participate in all Tacoma discussion topics
- Communicate privately with other Tacoma owners from around the world
- Post your own photos in our Members Gallery
- Access all special features of the site
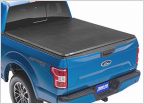 New Tacoma - Need a bed cover
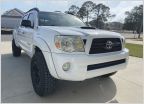 Mechanic / Maintenance Advice? **Random Taco Pics** lol
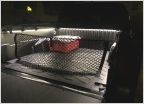 Considering doing some bed lighting.. which lights and the best way to get 12V?
 Trans flush DIY
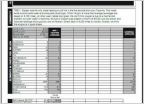 Blackstone Oil Report - 4.0L Penn Plat. 5w-30
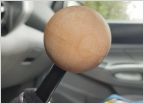 Made a custom wood shift knob: update
Switch Pro 9100 questions
Discussion in '2nd Gen. Tacomas (2005-2015)' started by Sk8virt, Feb 10, 2018.

