

-
Welcome to Tacoma World!
You are currently viewing as a guest! To get full-access, you need to register for a FREE account.
As a registered member, you’ll be able to:- Participate in all Tacoma discussion topics
- Communicate privately with other Tacoma owners from around the world
- Post your own photos in our Members Gallery
- Access all special features of the site
 FELLOW HAMS! - VHF/UHF Antenna Inquiries and Genuine Tech Question.
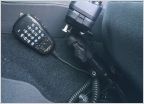 Which baofeng to order?
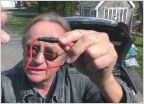 Failed theft attempt. I need to educate myself.
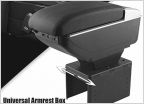 Rear seat with foldable armrest.
 Truck will not start after dead battery/jump
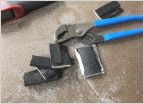 Tonneau cover with RCI bed rack
PTR13-35150 - Bilstein TRD PRO kit - Upgrade??
Discussion in '3rd Gen. Tacomas (2016-2023)' started by commbubba19, Jan 22, 2018.
Page 120 of 162
Page 120 of 162


