

-
Welcome to Tacoma World!
You are currently viewing as a guest! To get full-access, you need to register for a FREE account.
As a registered member, you’ll be able to:- Participate in all Tacoma discussion topics
- Communicate privately with other Tacoma owners from around the world
- Post your own photos in our Members Gallery
- Access all special features of the site
Quick Links: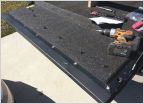 Dynolock Automatic Tailgate Lock - Product Review
 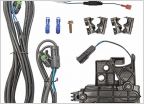 Aftermarket bed light kit and auto locking tailgate
  Adventure Tool Company - Shop Roll
 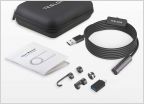 3rd Generation USB Borescope, Teslong Auto Focus Endoscope Camera with 5.0 Megapixels FHD Micro Insp
 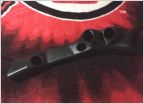 Lotek gauge pod
 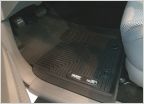 Weather Tech vs Husky winter matts
Installing MeSoJDM's Custom Lower Switch Panel
Discussion in 'Product Reviews' started by destin_meeks, Mar 15, 2018.
Page 1 of 4
Page 1 of 4


