

-
Welcome to Tacoma World!
You are currently viewing as a guest! To get full-access, you need to register for a FREE account.
As a registered member, you’ll be able to:- Participate in all Tacoma discussion topics
- Communicate privately with other Tacoma owners from around the world
- Post your own photos in our Members Gallery
- Access all special features of the site
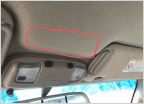 Ceiling Switch Panel?
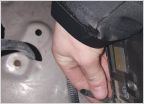 Replacing windshield washer hose (pic)
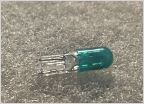 AC console bulb
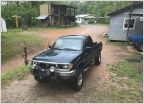 '97 Taco V6 4X4 5 speed R150F whining noise in 5th gear
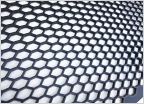 Looking for ideas on a new grille for my 2003 Tacoma..... pics welcome, Thanks
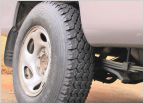 What lug nuts do I need?
Front wheel bearings shot - try DIY or take it in?
Discussion in '1st Gen. Tacomas (1995-2004)' started by rob feature, Sep 23, 2018.
Page 5 of 5
Page 5 of 5
Products Discussed in


