

-
Welcome to Tacoma World!
You are currently viewing as a guest! To get full-access, you need to register for a FREE account.
As a registered member, you’ll be able to:- Participate in all Tacoma discussion topics
- Communicate privately with other Tacoma owners from around the world
- Post your own photos in our Members Gallery
- Access all special features of the site
 01 Tacoma power adders
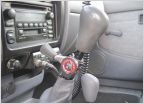 Throttle, hand control (5VZ)
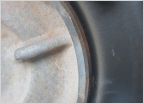 Do I need hub rings or caps for these wheels?
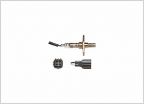 Replacing O2 and Air/fuel sensor but have part number ?
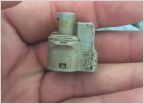 E Locker help
3D Printed Gas Door Cam Lock Repair
Discussion in '1st Gen. Tacomas (1995-2004)' started by BartMaster1234, Dec 23, 2016.


