

-
Welcome to Tacoma World!
You are currently viewing as a guest! To get full-access, you need to register for a FREE account.
As a registered member, you’ll be able to:- Participate in all Tacoma discussion topics
- Communicate privately with other Tacoma owners from around the world
- Post your own photos in our Members Gallery
- Access all special features of the site
 AZ, which passes for which trails?
 Need Some Input on Brakes
 Sound deadening in east valley install wanted
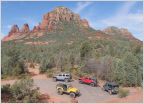 Trail Runs
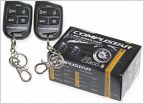 Kb voodoo Remote Start Kit for 2016 - 2017 Tacoma
AZ BS Thread 4²0
Discussion in 'Arizona' started by Brian007Taco, May 12, 2016.
Page 4076 of 5799
Page 4076 of 5799
Products Discussed in


