-
Welcome to Tacoma World!
You are currently viewing as a guest! To get full-access, you need to register for a FREE account.
As a registered member, you’ll be able to:- Participate in all Tacoma discussion topics
- Communicate privately with other Tacoma owners from around the world
- Post your own photos in our Members Gallery
- Access all special features of the site
 Carista OBD2 Group Buy ?
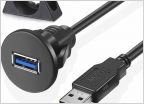 2020 TRD Sport Media USB Relocate NON JBL
 90% off road, SR V6 double cab coming up a bit short, need to sort the setup for hard every day use.
 TRD vs Toyota (Denso) oil filter
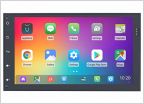 Apple CarPlay 2017 Taco
 Are Joying headunits any good?
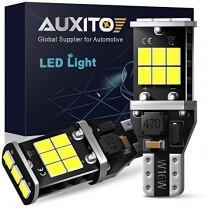
LED Lighting Conversion
Discussion in '3rd Gen. Tacomas (2016-2023)' started by chan2565, Jun 14, 2016.
Page 182 of 210
Page 182 of 210
Products Discussed in