

-
Welcome to Tacoma World!
You are currently viewing as a guest! To get full-access, you need to register for a FREE account.
As a registered member, you’ll be able to:- Participate in all Tacoma discussion topics
- Communicate privately with other Tacoma owners from around the world
- Post your own photos in our Members Gallery
- Access all special features of the site
 1st gen ABS delete
 How to go about replacing transfer case motor?
 1st gen ball joints part numbers
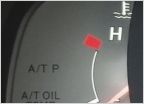 Dash and Shifter bulb replacement
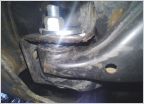 Moog LCA Bushing Failure
ANOTHER, but important 4WD ADD ACT TIMING talk and positions...
Discussion in '1st Gen. Tacomas (1995-2004)' started by DC92T, Dec 2, 2018.


