

-
Welcome to Tacoma World!
You are currently viewing as a guest! To get full-access, you need to register for a FREE account.
As a registered member, you’ll be able to:- Participate in all Tacoma discussion topics
- Communicate privately with other Tacoma owners from around the world
- Post your own photos in our Members Gallery
- Access all special features of the site
 3rd gen 2022 Toyota Tacoma transfer case fluid type ?
 Need advice! Deck Rail Bolts and Threaded Holes
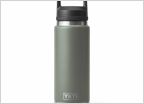 Ideas to fit Yeti Rambler into cupholders
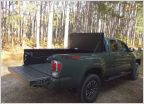 Tonneau Cover using existing rails?
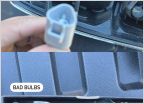 LED Tail Lights
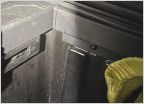 Water sealing the third gen bed
Redarc Brake Controller Install on 2017 TRD Sport (Step by Step w/ pics)
Discussion in '3rd Gen. Tacomas (2016-2023)' started by RBaptist, Sep 23, 2018.
Page 1 of 5
Page 1 of 5


