

-
Welcome to Tacoma World!
You are currently viewing as a guest! To get full-access, you need to register for a FREE account.
As a registered member, you’ll be able to:- Participate in all Tacoma discussion topics
- Communicate privately with other Tacoma owners from around the world
- Post your own photos in our Members Gallery
- Access all special features of the site
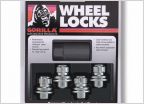 Wheel Locks
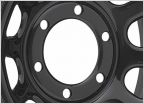 15x8 + Spacers First Gen
 Replacement Lugs for TSS Rims
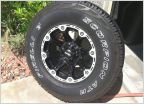 FYI - Dick Cepek Torque and ET Lugs
 3rd Gen on BFG K02's 295/70r17 or 285/75r17 tires? What lift/spacers/etc?
How To Video: Change a Tire on the Tacoma ( high def )
Discussion in 'Wheels & Tires' started by acozzens, Jul 15, 2010.
Page 1 of 3
Page 1 of 3
