

-
Welcome to Tacoma World!
You are currently viewing as a guest! To get full-access, you need to register for a FREE account.
As a registered member, you’ll be able to:- Participate in all Tacoma discussion topics
- Communicate privately with other Tacoma owners from around the world
- Post your own photos in our Members Gallery
- Access all special features of the site
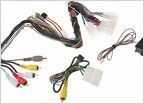 Pioneer AVH-4400NEX installation
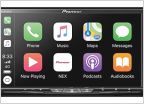 Sick of my Pioneer AVIC NEX. What next?
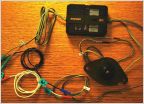 Hope this helps anyone installing
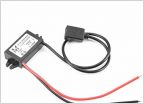 Relocating Dash USB Port
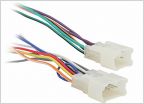 Power wires for 2010 radio harness
2005 Double Cab SQ Build -- 3-way|Q-Logic|Pioneer|JL Audio|Zapco|Rockford|Dayton
Discussion in 'Audio & Video' started by LegendaryDave, Feb 15, 2019.


