

-
Welcome to Tacoma World!
You are currently viewing as a guest! To get full-access, you need to register for a FREE account.
As a registered member, you’ll be able to:- Participate in all Tacoma discussion topics
- Communicate privately with other Tacoma owners from around the world
- Post your own photos in our Members Gallery
- Access all special features of the site
 GPS/Bluetooth help!!!!!
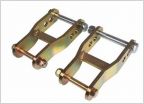 1st Gen Toytec Shackle kit
 How could I level out my stock height 2001 tacoma 2wd?
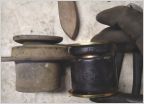 Energy Suspension body mount bushing replacement on 1st gen double cab
 Instrument cluster glass replacement
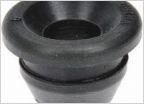 Full Tune
What have you done to your Tacoma today? 1st Gen Edition
Discussion in '1st Gen. Tacomas (1995-2004)' started by SlimDigg, Feb 7, 2011.
Page 8540 of 11217
Page 8540 of 11217
Products Discussed in


