

-
Welcome to Tacoma World!
You are currently viewing as a guest! To get full-access, you need to register for a FREE account.
As a registered member, you’ll be able to:- Participate in all Tacoma discussion topics
- Communicate privately with other Tacoma owners from around the world
- Post your own photos in our Members Gallery
- Access all special features of the site
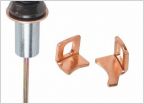 Starter motor intermittent failure, one more time please?
 Energy Suspension control arm bushings
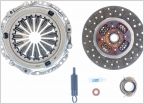 Opinions on best clutch kit for replacement
 Silver painted center caps
 Do I need new cats?
 Will this fit?
3.4L TRD Supercharger rebuild
Discussion in '1st Gen. Tacomas (1995-2004)' started by SupraT, Mar 10, 2013.
Page 39 of 47
Page 39 of 47


