

-
Welcome to Tacoma World!
You are currently viewing as a guest! To get full-access, you need to register for a FREE account.
As a registered member, you’ll be able to:- Participate in all Tacoma discussion topics
- Communicate privately with other Tacoma owners from around the world
- Post your own photos in our Members Gallery
- Access all special features of the site
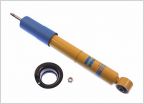 Strut and shock recommendations?
 What to buy with $25 Amazon gift card?
 OEM part number for positive side battery cable assembly?
 Underside of Bed Protection
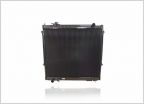 Overheating trouble: fan clutch or radiator?
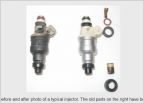 Prepping for Fuel Injector Service
2.7 3rz engine R&R
Discussion in '1st Gen. Tacomas (1995-2004)' started by Stout890, Oct 16, 2018.
Page 1 of 2
Page 1 of 2


