

-
Welcome to Tacoma World!
You are currently viewing as a guest! To get full-access, you need to register for a FREE account.
As a registered member, you’ll be able to:- Participate in all Tacoma discussion topics
- Communicate privately with other Tacoma owners from around the world
- Post your own photos in our Members Gallery
- Access all special features of the site
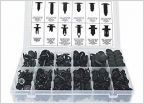 Bumper End Cap fasteners
 T nut sizes?
 What kind of all weather cover do y’all use to cover your truck
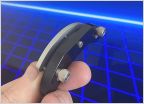 My Cell Phone Mount [With Details & Review]
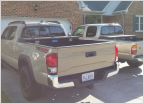 Tools every truck should have...
 Anyone heard of Rek Gen mud flaps?
Ecgs bushing install
Discussion in '3rd Gen. Tacomas (2016-2023)' started by 3rdGen, Nov 16, 2017.
Page 4 of 7
Page 4 of 7

