

-
Welcome to Tacoma World!
You are currently viewing as a guest! To get full-access, you need to register for a FREE account.
As a registered member, you’ll be able to:- Participate in all Tacoma discussion topics
- Communicate privately with other Tacoma owners from around the world
- Post your own photos in our Members Gallery
- Access all special features of the site
 What is this??
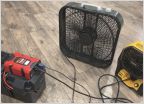 Aux battery
 D-4s v6 Oil Filter Tool
 Rochester NY Area Tacoma Owners
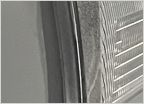 Brake light leak - silicone?
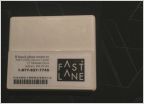 Using my GoPro mount as a SpeedPass base. Need advise
Ditch lighting without Ditch Lights. An alternative mounting
Discussion in '3rd Gen. Tacomas (2016-2023)' started by Stocklocker, Jun 29, 2019.
Page 1 of 2
Page 1 of 2


